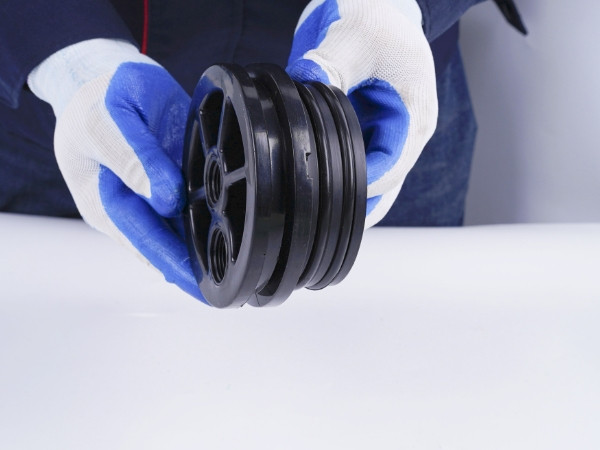
Take out all installation parts. Lubricate the end plate seals and the inner surface of the housing to ensure the plug can be pushed into the housing smoothly;


Take out all installation parts. Lubricate the end plate seals and the inner surface of the housing to ensure the plug can be pushed into the housing smoothly;

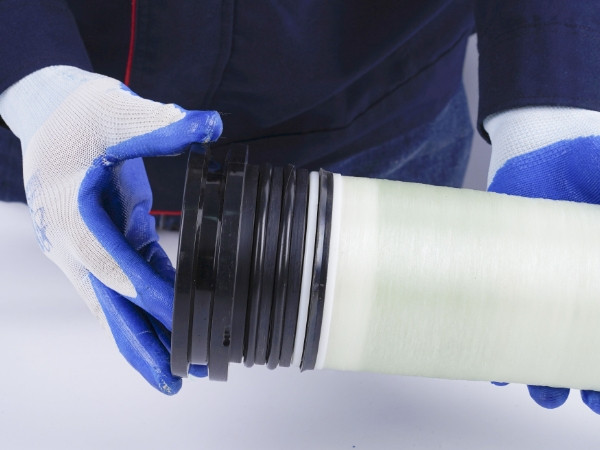
Install the membrane element. Attach the inflow head to the end of the membrane element and push it all the way. Lubricate the membrane element seals and put the water purification connector in the middle of the membrane element. If the gab between the other end cap and the membrane element is too large, eliminate the gap with gasket and then fix the end cap;

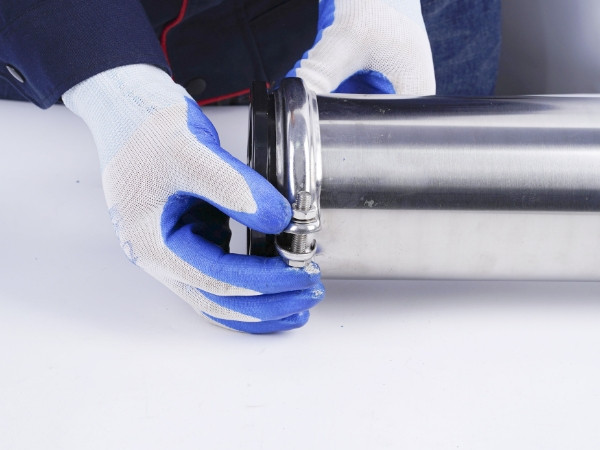
Put the crescent fixing rings into the housing grooves and fix them with fastening screws;

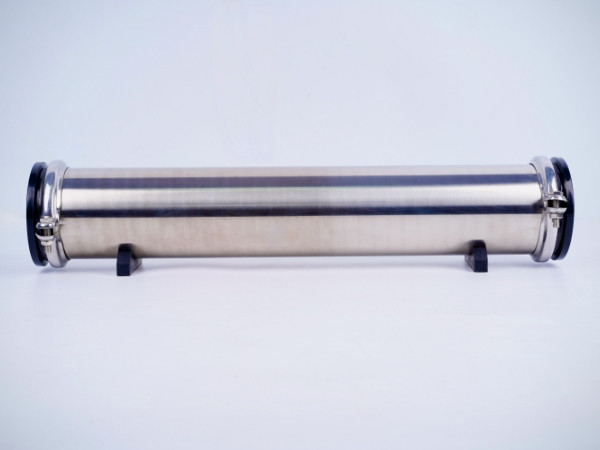
Secure the membrane housing to the equipment racks horizontally with saddles and strips. Check if all fasteners are tightened.
Notes